Resources
Slider

Install BlackVault Library and integrate with Java


The BlackVault communicates over the network using PKCS#11. For a host to communicate with the BlackVault, the BlackVault’s PKCS#11 library, TLS certificates, and pkcs.dat must be installed first. Additionally, the Java files nss.cfg and java.security must be correctly setup.


Windows


1. Insert the BlackVault HSM Setup CD into your computer, on it you will find a file called bv-setup.exe


2. Run bv-setup.exe


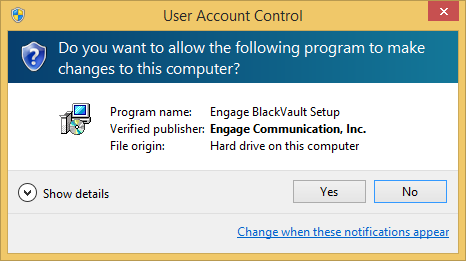
3. Windows asks if you want the installer to make changes to computer, select yes.


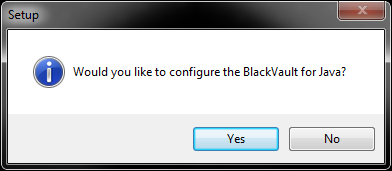
4. The installer asks, “Would you like to configure the BlackVault for Java?” select yes.


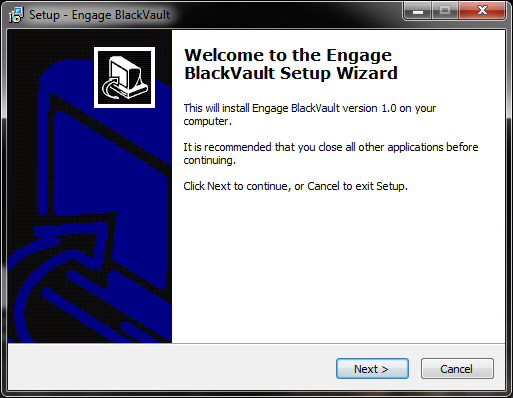
5. The first window you will see is the overview window. It goes over what will be installed. Select Next to continue.


6. Next the installer asks for the Java directory currently being used on Windows. Browse for the desired top-level Java directory (usually in C:/Program Files/Java/jre8 or C:/Program Files(x86)/Java/jre8) then press next


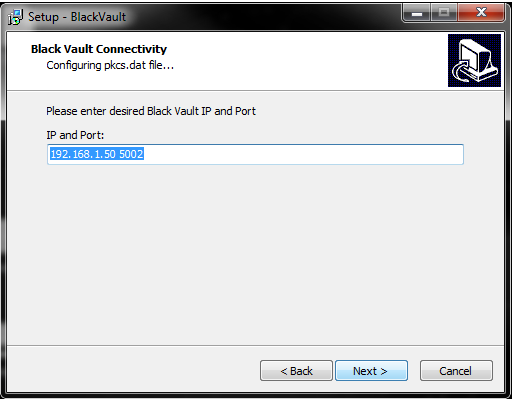
7. Next the installer asks for the BlackVault IP address and TLS Port. Enter those there and press next.


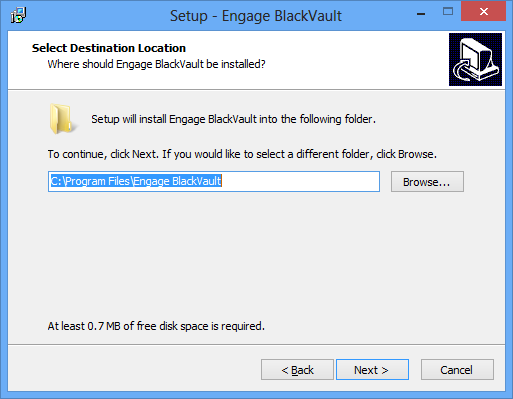
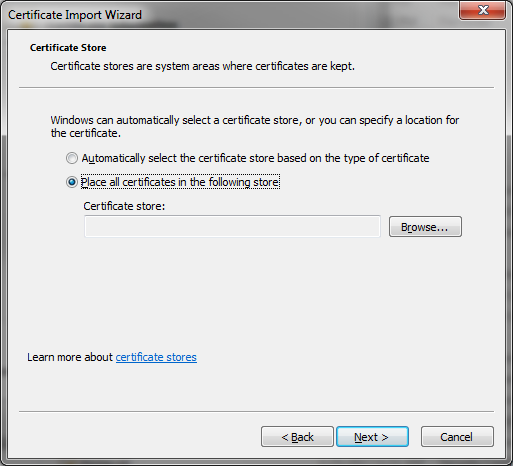
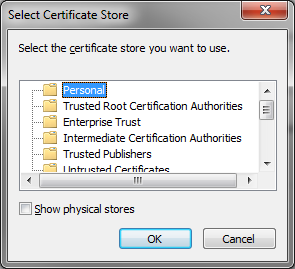
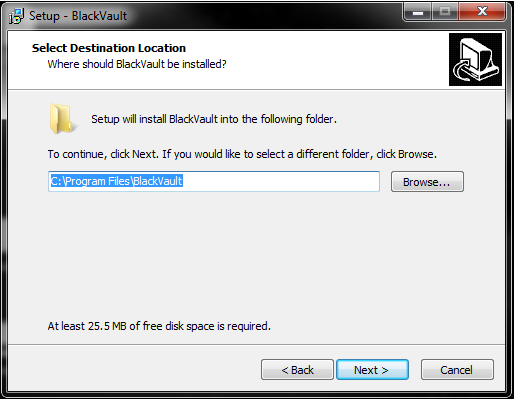
8. Next, the installer asks for the location of the directory to install the necessary files to. Either use the default location, or to select a new location, click browse and specify the new location.


9. Next, the installer asks for which components to install, the Engage BlackVault Cryptography Provider (CNG/Authenticode and PKCS#11 libraries), or just the PKCS#11 Library


.


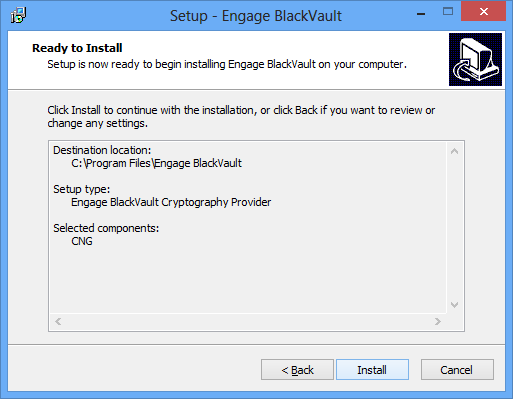
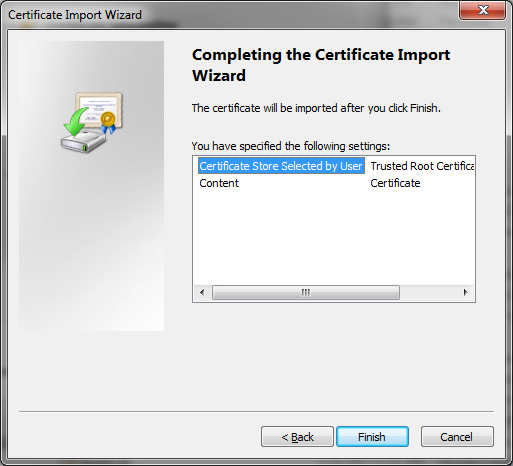
10.  The installer then gives a summary of items to be installed press install to continue.


11. The installer then installs all the components, including a Microsoft Visual C++ Redistributable.


12.  Once the installer finishes press finish.


Linux


1. Copy the BlackVault Setup CD to a directory on your system.  In that directory do the following:


2. chmod +x bv-install.sh


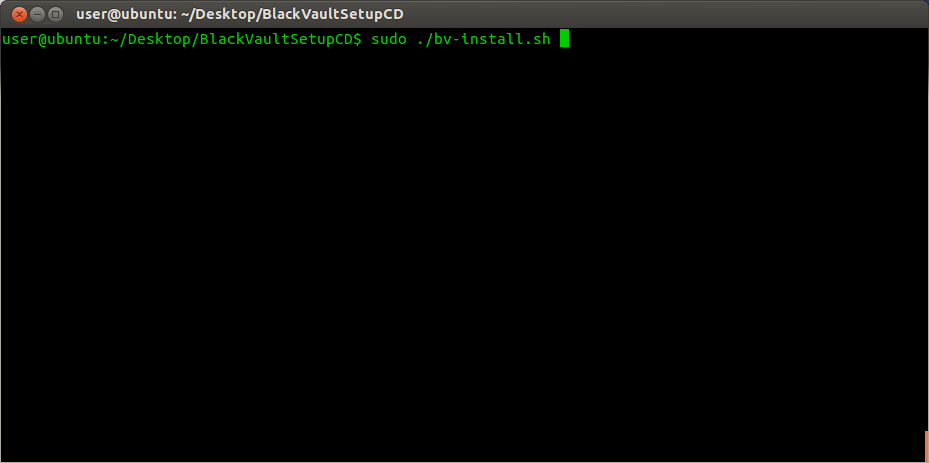
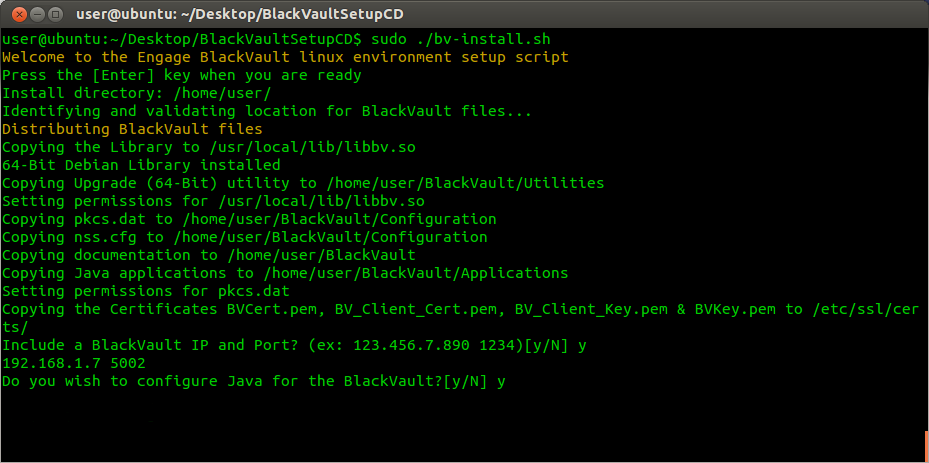
3. sudo ./bv-install.sh


4. press enter

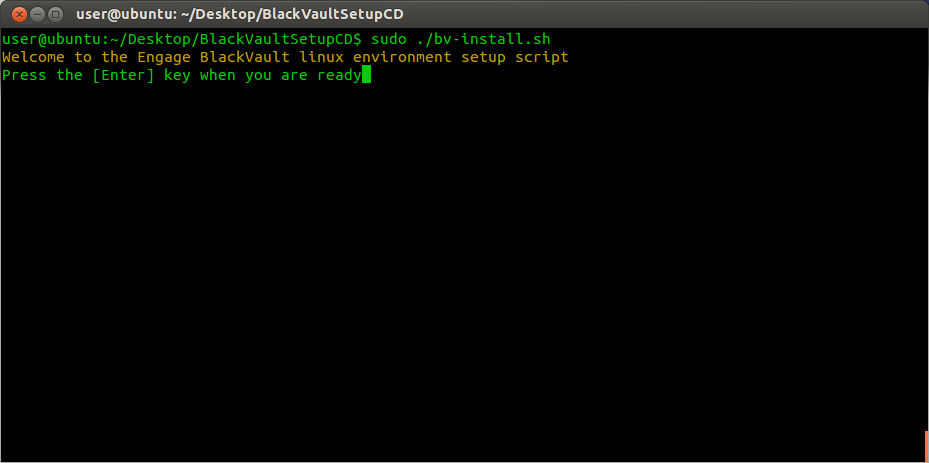
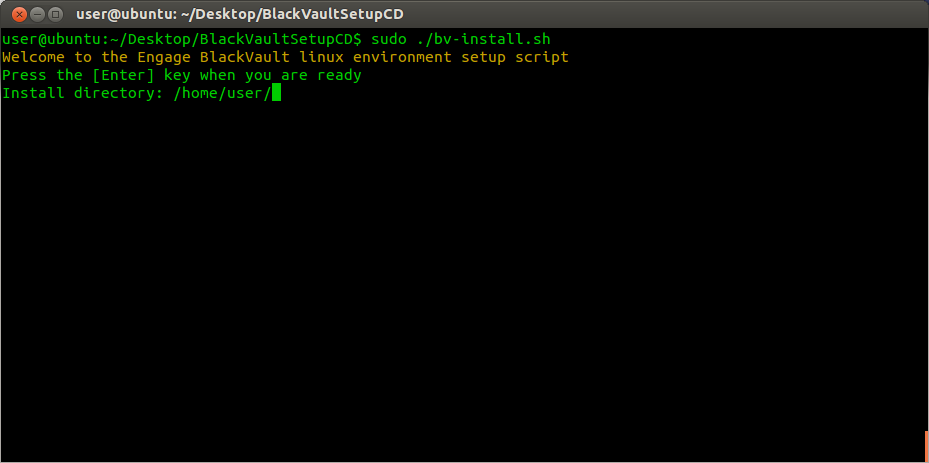
5. The appropriate PKCS11 library libbv is installed in /usr/local/lib. Then the script asks for an install directory (default to your home folder). Enter the install directory (or leave blank for default and press enter.


6. The script then asks for if you would like to “Include a BlackVault IP and Port?  (ex:  123.456.789 1234) {y/N]” for the pkcs.dat file. To continue,  press “y”, then the enter key. Next type the ip address and port number of the BlackVault and press the enter key again.


7. The TLS certificates are installed in /etc/ssl/certs.


8. At this point the BlackVault is setup to work with any non-Java application written to the PKCS11 API such as applications written in C or C++.  Select y and press enter to continue setting up java.


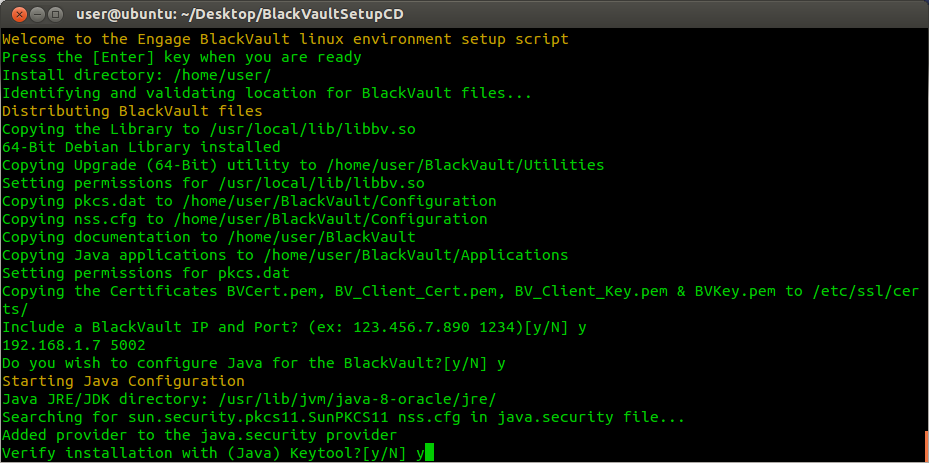
9. The Script asks for the “Java JRE/JDK directory” then displays the environment variable $JAVA_HOME. Press enter if this is the correct directory. If it is not change it now then press enter.

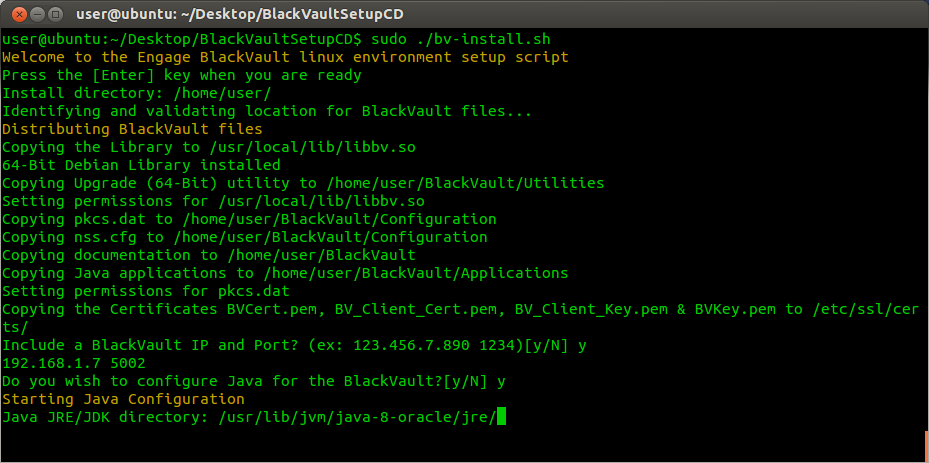
10. The script now asks, “Verify installation? [y/N]”.   Choose “y” if you wish to have the script run Java keytool to list the keys stored on the BlackVault.   


11. Log in as User on the BlackVault.  Provided no keys have been created, the expected result would look something like the following:


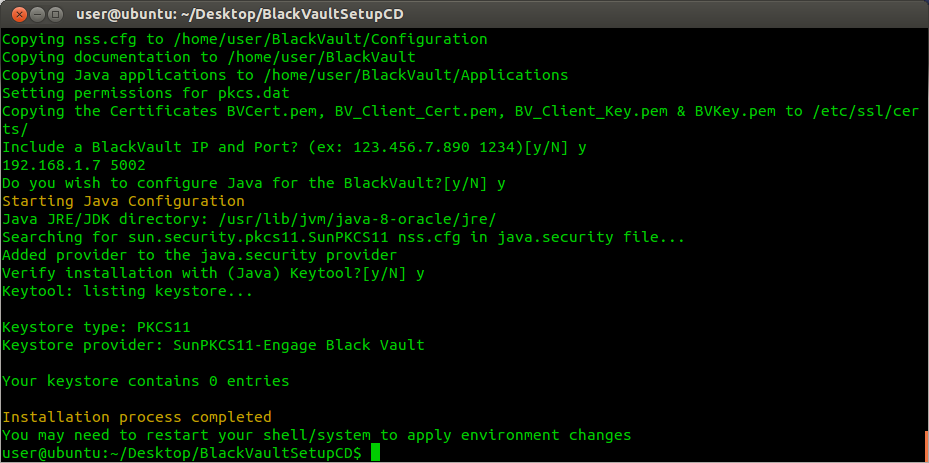
12. In order for full settings to take restart the system, as environment variables were changed .


Signing with Java Jarsigner and the BlackVault HSM


To do code signing per industry best practices, along with creating and storing the key inside a secure HSM, a code signing certificate associated with the key is required. This section first describes how to create a key, and then how to create the certificate.

If a key already has been created by Java, you can skip the first section and move onto Jarsinger operation


Key and Certificate Creation


Before signing code, you need a key and certificate for that key. Keytool is used for this purpose as described below.


Keytool is a key and certificate management utility that allows users to administer their own public/private key pairs and associated certificates. It is used in self-authentication or data integrity and authentication services, using digital signatures. It also allows users to cache public keys (in the form of certificates) of their communicating peers.

If you have completed the previous steps in this guide (Java configured correctly, and PKCS#11 library installed), perform the following using a command terminal:


  1. To create a key
    For Java enter the following commandkeytool -genkey -keystore NONE -storetype PKCS11 -alias KeyNameHere -keyalg RSA -keysize 2048 -storepass 123456
    1.  Although Java requires a storepass entry (typically used for authenticating the keystore), the BlackVault HSM authenticates itself and does not use this password.
    2. keysize is the size of the algorithm
    3. keyalg is what key algorithm you want to use
    4. alias is the name of the key
    5. keystore and storetype is telling Java to use the PKCS#11 functions of Java


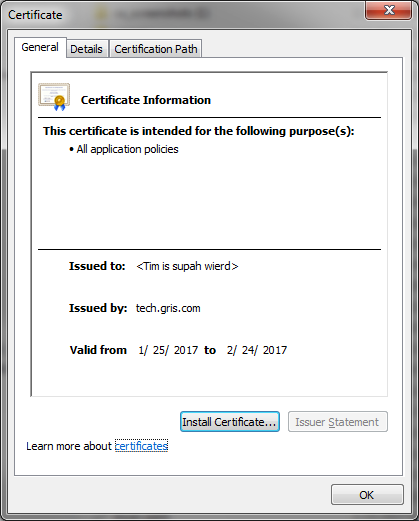
  1. After entering the keytool command Java will prompt for Identifying information. This is used for the self-signed certificate that is created by the BlackVault HSM at the same time the key is created.


  1. It will then prompt if all entries are correct. When you are sure the information is correct, type yes and then press the enter key.
     
  2. After creating the key, verify the key is stored in the BlackVault by listing the keys from the BlackVault with the following command.
    For java keytool has a list key function: keytool -list -keystore NONE -storepass 123456 -storetype PKCS11

If a self-signed certificate is sufficient skip to the next section, if you would like a certificate signed by an independent certificate Authority perform the following:

  1. Next a certificate signing request (CSR) is generated from the key just created by performing the following steps.
    For Java enter the following command:  keytool -certreq -alias KeyNameHere -keyalg RSA -file CSRNameHere.csr -keystore NONE -storetype PKCS11
  • keystore and storetype is telling Java to use the PKCS#11 functions of Java
  • alias is the name of the key
  • keyalg is what key algorithm you want to use
  • keysize is the size of the algorithm
  • storepass is normally used for authenticating the keystore, but the BlackVault HSM authenticates itself and does not use this password. Java requires it anyways
  • file is the filename that the CSR will output to.


  1. Get the CSR signed by a Certificate Authority (i.e. Digicert, Verisign, etc)
     
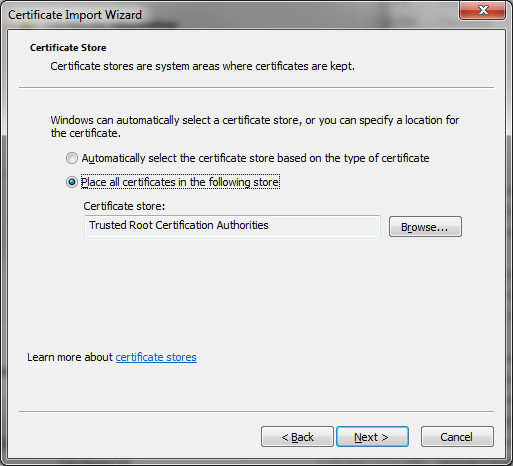
  2. After obtaining the certificate from a Certificate Authority it will need to be attached to the key from which it is derived. To do this it must be imported into the BlackVault
    For Java enter the following command: keytool -import -trustcacerts -alias KeyNameHere -file CaFileHere.pem -keystore NONE -storetype PKCS11
  • keystore and storetype is telling Java to use the PKCS#11 functions of Java
  • alias is the name of the key
  • file is the location and file name of the certificate that was created by a certificate authority


Jarsigner Operation


Everything is setup now to start code signing. To do a sample code signing to verify everything is working do the following:

  1. sign code
    For Java, use the following command: jarsigner -keystore NONE -storetype PKCS11 /Path/To/Your/Jar KeyNameHere
  • keystore and storetype is telling Java to use the PKCS#11 functions of Java
  • KeyNameHere is the name of the key on the BlackVault
  • /Path/To/Your/Jar is the location and file name of the jar that is needing to be signed.


  1. Verify code

For Java, use the following command: jarsigner -verify /Path/To/Your/Jar

  • /Path/To/Your/Jar is the path to the jar that needs to be verified

  • Provided everything was set up correctly, the output will show the information of your certificate as well as the information of the CA that signed the certificate.

  1.  If the output is something different than the Verify failed and the code that you try to verify was changed from what was originally signed.


bvtool Utility 


The BlackVault Hardware Security Module (HSM) can perform a myriad of cryptographic functions, however a client program must be used to fully take advantage of the BlackVault. Engage Black has provided a utility that does this called bvtool. This utility allows the user to perform cryptographic operations such as sign, verify, encrypt and decrypt files, as well as basic key management.


There are 7 different funtions of bvtool they are as follows:

bvtool genkey


There are several types of keys one can create using this product they are: RSA, EC, DSA, AES, and Generic.

To create a key on the BlackVault HSM issue the command “bvtool genkey” followed by the following arguments:

  • -n            followed by the name of the key you are creating
  • -t             followed by the type of key you want to create (again, RSA, EC, DSA, AES, and Generic)
  • -s            followed by the size of the key if RSA, DSA, AES, or Generic are chosen
  • -c            followed by the curve of the key if EC is chosen
    • The following curves can be created: prime192v1, prime256v1, secp224r1, secp384r1, secp521r1, sect163k1, sect163r2, sect233k1, sect233r1, sect283k1, sect283r1, sect409k1, sect409r1, sect571k1, sect571r1
  • -x            if you would like to use the X9.31 mechanism for key generation
  • -e           if you would like the key to be ephemeral (only exists during current session)

As an example of how this command might look:

  • bvtool genkey -n [NAME] -t [RSA| DSA| AES| Generic] -s [SIZE]
  • bvtool genkey -n [NAME] -t [EC] -c [CURVE] 
 

bvtool -deletekey


Caution must be taken when issuing this command as it cannot be reversed

To delete a specific key off the BlackVault HSM issue the following command:

  • bvtool -deletekey [NAME]

If you would like to delete all the keys off the BlackVault HSM issue the following command:

  • bvtool -deletekey -all

bvtool -listkeys


To list all the keys on the BlackVault HSM issue the following command:

  • bvtool -listkeys


bvtool encrypt


To encrypt a file using a key on the BlackVault HSM issue the command “bvtool encrypt” followed by the following arguments:

  • -n           followed by the name of the key you wish to use
  • -m         followed by the name of the mechanism you wish to use
  • -in          followed by the name of the file to be encrypted
  • -out       followed by the name of the output encrypted file.

Here is an example of how all this would look like:

  • Bvtool encrypt -n [NAME] -m [MECHANISM] -in [FILENAME] -out [ENCRYPTED FILENAME]


bvtool decrypt


To decrypt a file using a key on the BlackVault HSM issue the command “bvtool decrypt” followed by the following arguments:

  • -n           followed by the name of the key you wish to use
  • -m         followed by the name of the mechanism you wish to use 
  • -in          followed by the name of the encrypted file
  • -out       followed by the name of the output decrypted file.

Here is an example of how all this would look like:

  • bvtool decrypt -n [NAME] -m [MECHANISM] -in [ENCRYPTED FILENAME] -out [DECRYPTEDFILENAME]


bvtool sign


To sign a file using a key on the BlackVault HSM issue the command “bvtool sign” followed by the following arguments:

  • -n            followed by the name of the key you wish to use
  • -m          followed by the name of the mechanism you wish to use
  • -in           followed by the name of the file to be signed
  • -out        followed by the name of the output signed file.

Here is an example of how all this would look like:

  • bvtool sign -n [NAME] -m [MECHANISM] -in [FILENAME] -out [SIGNEDFILENAME]


bvtool verify


To verify a signed file using a key on the BlackVault HSM issue the command “bvtool verify” followed by the following arguments:

  • -n            followed by the name of the key you wish to use
  • -m          followed by the name of the mechanism you wish to use 
  • -in           followed by the name of the signed file.
  • -sig         followed by the name of the signature file

Here is an example of how all this would look like:

  • bvtool verify -n [NAME] -m [MECHANISM] -in [FILENAME] -sig [SIGNEDFILENAME]


Mechanisms Supported


Occasionally, when performing various functions of bvtool, you will need to specify a mechanism. Below is a list of supported mechanisms:
 

aes-ecb, aes-cbc, aes-cbc-pad, aes-ofb, aes-cfb8, aes-cfb128, aes-gcm, aes-kw

rsa-pkcs, rsa-sha1, rsa-sha224, rsa-sha256, rsa-sha384, rsa-sha512, rsa-md5, rsa-sha1-pss,
rsa-sha224-pss, rsa-sha256-pss, rsa-sha384-pss, rsa-sha512-pss, rsa-pkcs-pss, rsa-pkcs-oaep, rsa-x509, rsa-x931

ecdsa, ecdsa-sha1

sha1, sha224, sha256, sha384, sha512

dsa, dsa-sha1

cmac, hmac-sha512, hmac-sha384, hmac-sha256, hmac-sha224, hmac-sha1


bvimport Utility 


The BlackVault Hardware Security Module (HSM) securely generates and stores cryptographic keys. If an RSA or ECC key already exists outside of the BlackVault HSM and you would like it to be stored inside the BlackVault HSM a key import must be performed. Included in the BlackVault Setup CD is a tool called bvimport, this is installed when you run the installer and is the utility to run when a key import is desired.

The bvimport utility only supports RSA and ECC keys, and they must be in pem format.


Provided that the key is in pem format this is how you import a key:

  1. Open a terminal.
  2. Run the command bvimport with the following arguments:
    1. If importing just a key use the arguments “-key KEYFILE -keyname KEYNAME”
      1. Where KEYFILE is the location of the .pem formatted key.
      2. And KEYNAME is the name associated with the key to easily identify it in the BlackVault HSM
    2. If importing just a certificate use the arguments “-cert CERTFILE -certname CERTNAME”
      1. Where CERTFILE is the location of the .pem formatted certificate.
      2. And CERTNAME is the name associated with the certificate to easily identify it in the BlackVault HSM
    3. If importing both a certificate and a key use the arguements “-keyandcert KEYANDCERTFILE -keyname KEYNAME -certname CERTNAME”
      1. Where KEYANDCERTFILE is the location of the .pem formatted key and certificate file
      2. CERTNAME is the name associated with the certificate to easily identify it in the BlackVault HSM
      3. And KEYNAME is the name associated with the key to easily identify it in the BlackVault HSM
  3. If the pem was encrypted with a password bvimport asks for the password, enter it when needed.
  4. Once the command line returns, the key is imported successfully.


Install BlackVault Library and integrate with Authenticode


The BlackVault communicates over the network using PKCS#11. For Windows to communicate with the BlackVault HSM, the BlackVault HSM’s PKCS#11 library, CNG library, and pkcs.dat must be installed first. To install all the necessary files, simply run the installer following the steps below:


1. Run bv-setup.exe


2. Windows asks if you want setup.exe to make changes to your computer. Select Yes to continue.


3. The first window you will see is the overview window. It goes over what will be installed. Select Next to continue.


4.  The end user license agreement is then displayed. Read this thoroughly and select I accept the agreement then Next continue.


5. Now indicate where you want to install the files. The default is C:\Program Files\Engage BlackVault. Select Next to continue.


6.  It will now ask you if you want to install the entire CNG suite, or just the pkcs11 library . Select Engage BlackVault Cryptography Provider (for the entire CNG suite). Then press next.


7.  The next screen provides a summary of the location where the BlackVault PKCS11 library and BlackVault Program files will be installed. Select Install to continue.


8.  The dialog box below is displayed once the installer finishes. Press Finish to complete the installation.


Signing with Microsoft Authenticode and the BlackVault HSM


To perform code signing per industry best practices, along with creating and storing the key inside a secure HSM, a code signing certificate associated with the key is required. This section first describes how to create a key, and then how to create the certificate using a self-signed certificate authority managed by Openssl. If you require a chain of trust to a Certificate Authority (CA), replace the openssl commands with taking the CSR to the CA and have the CA sign your CSR.

For self-signed certificates,  first download and install Openssl for windows found here.

1. Create a key

  • In a command prompt run the command: bvtool genkey -n NAME -t TYPE -s SIZE -c CURVE -x
    • -n desired name of keys to be made
    • -t type of key aes, rsa, ec, dsa, generic
    • -s size of key if aes, rsa, dsa or generic is chosen
    • -c curve name if ec is chosen
    • -x use ANSI x9.31 for RSA key generation
  • You do not have to use all of the arguments, only the relevant ones.
  • Example:
    • Bvtool genkey -n NANE -t RSA -s 2048 -x
    • Bvtool genkey -n NAME -t EC -c prime256v1

2. Create a certificate

  • In a command prompt run the command: Certreq –new file.inf csr.pem where:
    •  “file.inf” is the inf file that specifies the key and other information about the key. For more information look here
    • “csr.pem” is the output certificate signing request file .
    • To use an existing key, in the .inf file, change “useexistingkeyset” to “true ”.

3. Create the Openssl CA  using the following command:

  • openssl req -x509 -newkey rsa:4096 -keyout rootkey.pem -out rootcert.pem -days 365 -subj "/C=US/ST=state/L=city/O=company/OU=division/CN=common name"

4.  Sign the certificate created in step 1 with the CA created in step 2 using the following command:

  • openssl x509 -req -in test.pem -sha256 -extfile usercert.cnf -CA rootcert .pem -CAkey rootkey.pem -CAcreateserial -out test.cer -outform der

5. Import the root certificate and the certificate just generated into windows.

  • To do this double click the CA certificate rootcert.cer


6. In the certificate dialogue box that shows up click Install Certificate


  • Click next


  • Select Trusted Root Certification Authorities and select OK.


  • Click Finish


7. Then double click the certificate created mycert.cer 


  • In the certificate dialogue box displayed, click Install Certificate.


  • Then select Personal and click OK.


  • Click Finish


8. Run the command “bv_assoiciate.exe”

  • In a command prompt run the command “bv_associate.exe “Certificate CN” “key name” where:
    • “Certificate CN” is the common name of the certificate installed
    • “key name” is the name of the key located on the BlackVault


9. Sign a file.

  • In a command prompt run the command: “signtool.exe sign /debug /s MY /n "Certificate CN” file.exe”where:
    • “sign” is the call used to sign with signtool
    • “/debug” turns on debug information, in case debugging is needed
    • “/s MY” is the cert store, don’t change this field
    • “/n “Certificate CN”” is the common name of the certificate, so it knows which certificate to use to sign the file
      • file.exe is the demo file to sign. Replace with any exe or dll file needing signature.

10. Verify the signature

  • In a command prompt run the command “signtool verify /v /pa file.exe”where:
    • “verify” is the call used to verify with signtool
    • “/v” means verbose, don’t change this field
    • “/pa” is the default Authenticode verification policy, don’t change this field
    • “file” is the demo file signed in the previous step. Replace it with the name of the actual file signed.
 

Engage logo 990000 rev 2.000
9565 Soquel Drive Dr,
Aptos, CA 95003
 
Telephone: +1-831-688-1021
Toll Free : +1-877-ENGAGE4
Designed, Fabricated, and Assembled
in America icon
Supported Worldwide