

Install BlackVault Library and integrate with Authenticode
The BlackVault communicates over the network using PKCS#11. For Windows to communicate with the BlackVault HSM, the BlackVault HSM’s PKCS#11 library, CNG library, and pkcs.dat must be installed first. To install all the necessary files, simply run the installer following the steps below:
1. Run bv-setup.exe
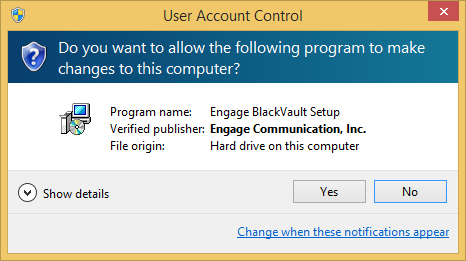
2. Windows asks if you want setup.exe to make changes to your computer. Select Yes to continue.
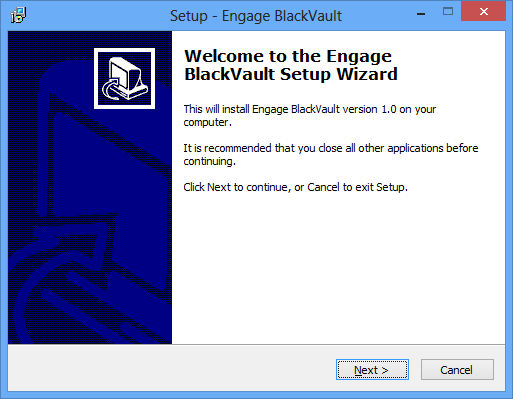
3. The first window you will see is the overview window. It goes over what will be installed. Select Next to continue.
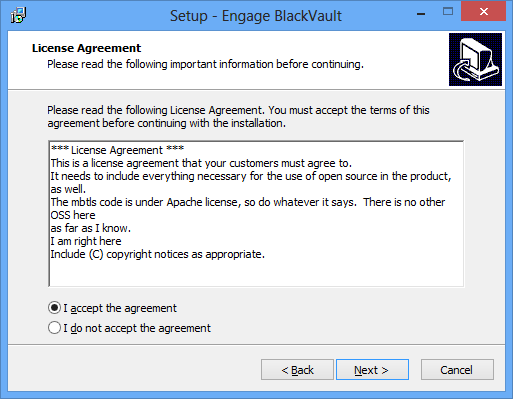
4. The end user license agreement is then displayed. Read this thoroughly and select I accept the agreement then Next continue.
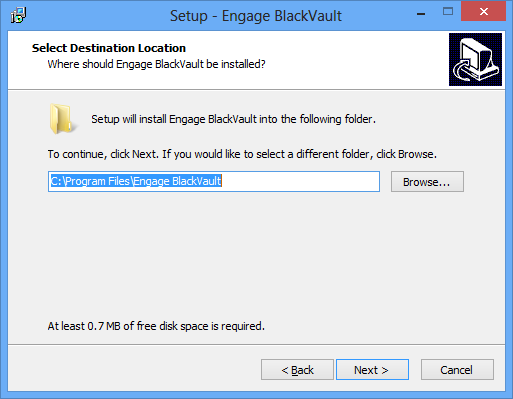
5. Now indicate where you want to install the files. The default is C:\Program Files\Engage BlackVault. Select Next to continue.
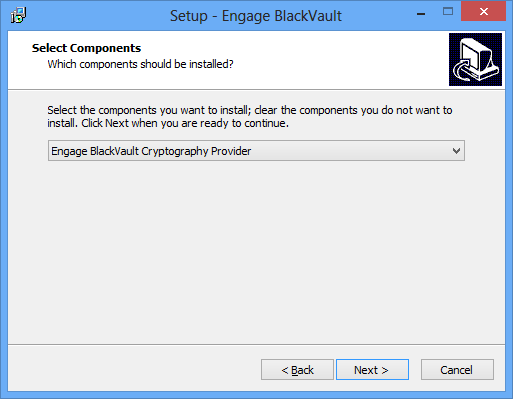
6. It will now ask you if you want to install the entire CNG suite, or just the pkcs11 library . Select Engage BlackVault Cryptography Provider (for the entire CNG suite). Then press next.
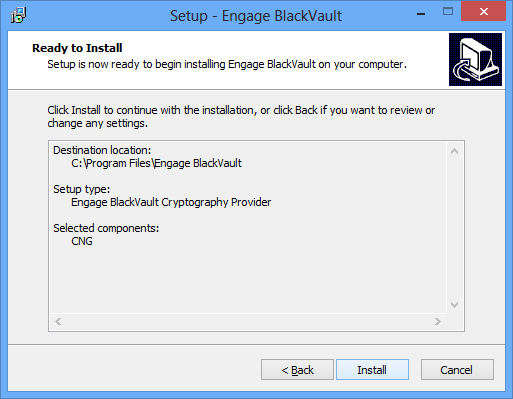
7. The next screen provides a summary of the location where the BlackVault PKCS11 library and BlackVault Program files will be installed. Select Install to continue.
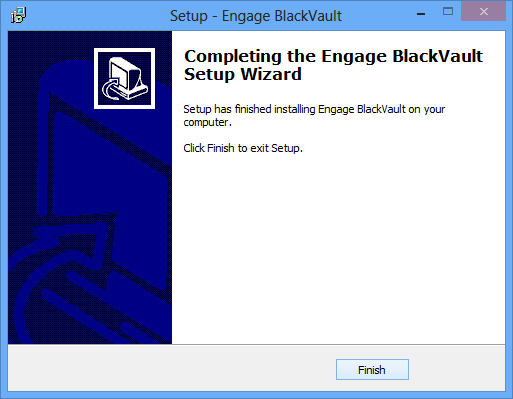
8. The dialog box below is displayed once the installer finishes. Press Finish to complete the installation.
Signing with Microsoft Authenticode and the BlackVault HSM
To perform code signing per industry best practices, along with creating and storing the key inside a secure HSM, a code signing certificate associated with the key is required. This section first describes how to create a key, and then how to create the certificate using a self-signed certificate authority managed by Openssl. If you require a chain of trust to a Certificate Authority (CA), replace the openssl commands with taking the CSR to the CA and have the CA sign your CSR.
For self-signed certificates, first download and install Openssl for windows found here.
1. Create a key
- In a command prompt run the command: bvtool genkey -n NAME -t TYPE -s SIZE -c CURVE -x
- -n desired name of keys to be made
- -t type of key aes, rsa, ec, dsa, generic
- -s size of key if aes, rsa, dsa or generic is chosen
- -c curve name if ec is chosen
- -x use ANSI x9.31 for RSA key generation
- You do not have to use all of the arguments, only the relevant ones.
- Example:
- Bvtool genkey -n NANE -t RSA -s 2048 -x
- Bvtool genkey -n NAME -t EC -c prime256v1
2. Create a certificate
- In a command prompt run the command: Certreq –new file.inf csr.pem where:
3. Create the Openssl CA using the following command:
- openssl req -x509 -newkey rsa:4096 -keyout rootkey.pem -out rootcert.pem -days 365 -subj "/C=US/ST=state/L=city/O=company/OU=division/CN=common name"
4. Sign the certificate created in step 1 with the CA created in step 2 using the following command:
- openssl x509 -req -in test.pem -sha256 -extfile usercert.cnf -CA rootcert .pem -CAkey rootkey.pem -CAcreateserial -out test.cer -outform der
5. Import the root certificate and the certificate just generated into windows.
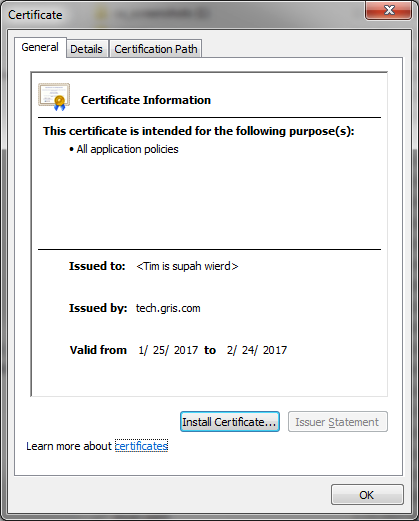
- To do this double click the CA certificate rootcert.cer
6. In the certificate dialogue box that shows up click Install Certificate

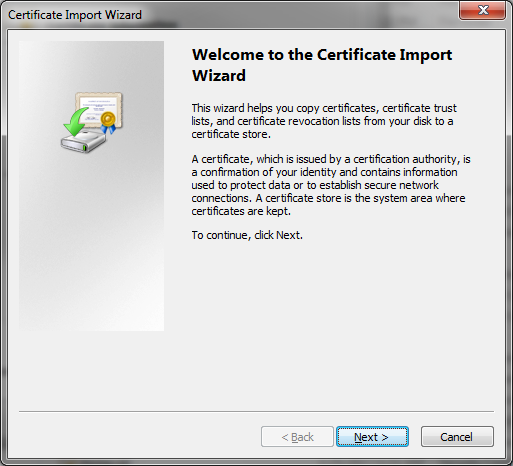
- Click next

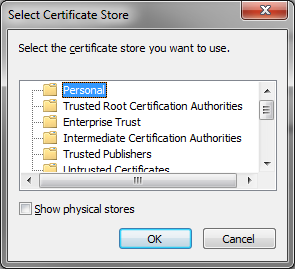
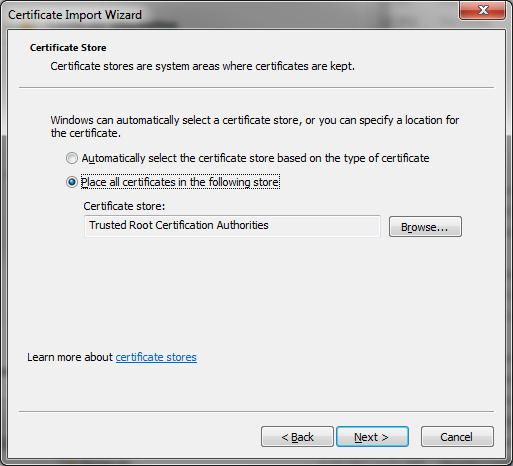
- The screen below is then displayed and select the radio button Place all certificates in the following store then click browse
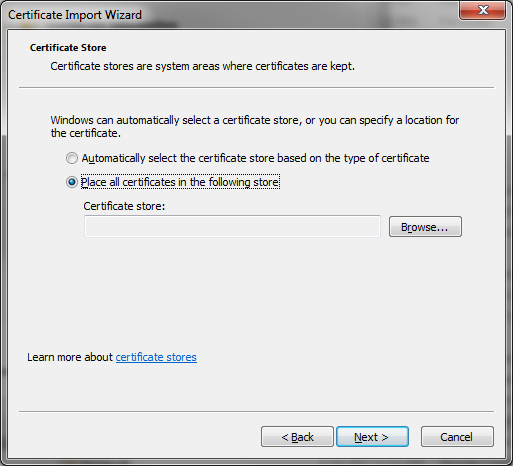
- Select Trusted Root Certification Authorities and select OK.

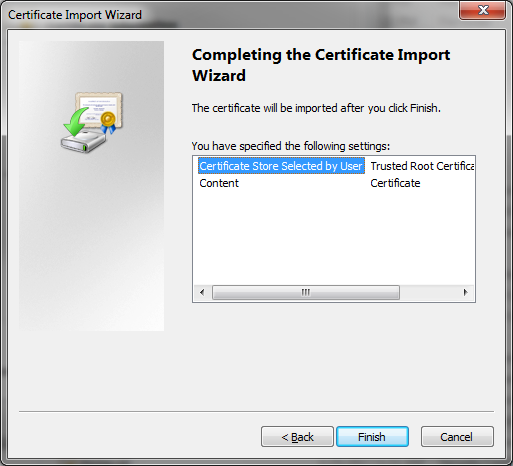
- Click next

- Click Finish
7. Then double click the certificate created mycert.cer
- In the certificate dialogue box displayed, click Install Certificate.
- Click Next
- Now select the radio button Place all certificates in the following store then click browse

- Then select Personal and click OK.
- Click next
- Click Finish

8. Run the command “bv_assoiciate.exe”
- In a command prompt run the command “bv_associate.exe “Certificate CN” “key name” where:
- “Certificate CN” is the common name of the certificate installed
- “key name” is the name of the key located on the BlackVault
9. Sign a file.
- In a command prompt run the command: “signtool.exe sign /debug /s MY /n "Certificate CN” file.exe”where:
- “sign” is the call used to sign with signtool
- “/debug” turns on debug information, in case debugging is needed
- “/s MY” is the cert store, don’t change this field
- “/n “Certificate CN”” is the common name of the certificate, so it knows which certificate to use to sign the file
- file.exe is the demo file to sign. Replace with any exe or dll file needing signature.
10. Verify the signature
- In a command prompt run the command “signtool verify /v /pa file.exe”where:
- “verify” is the call used to verify with signtool
- “/v” means verbose, don’t change this field
- “/pa” is the default Authenticode verification policy, don’t change this field
- “file” is the demo file signed in the previous step. Replace it with the name of the actual file signed.